


SAP PO for Beginners Part – 15 – Introduction to Java Mapping with Examples in SAP PO – Part – 2
This blog will assist you with Introduction to Java Mapping with Examples in SAP PO, including how to write, validate, and deploy Java Mapping in SAP NWDS software.
So, underneath is the substance we will be intricate in this instructional exercise:
- Overview
- JAVA PROGRAM -1 – Extracting Filename through Dynamic Configuration
- JAVA PROGRAM -2 – How to write parameterized Java Mapping
1. Overview: Introduction to Java Mapping with Examples in SAP PO
This is the continuation of the previous post where we created and tested the Java program in NWDS and ESB. In this post, titled “Introduction to Java Mapping with Examples in SAP PO,” we will delve deeper into more complex Java projects and explore additional examples to enhance your understanding of Java mapping within SAP PO.
2. JAVA PROGRAM – 1 – Extracting the Filename through Dynamic Configuration
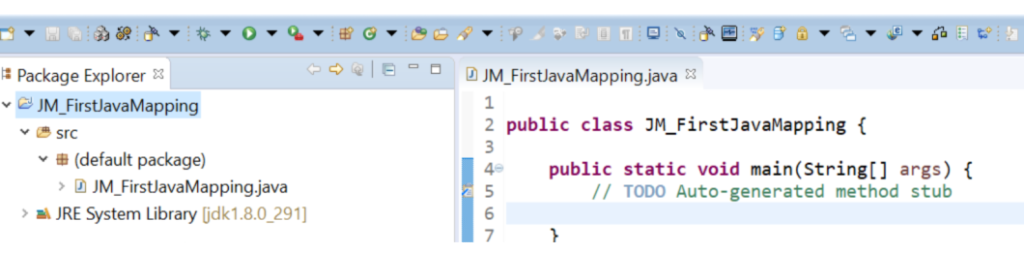
The beginning advances are same, where we make a Java Venture in NWDS – > Making class. I will involve similar program as we utilized for Following.
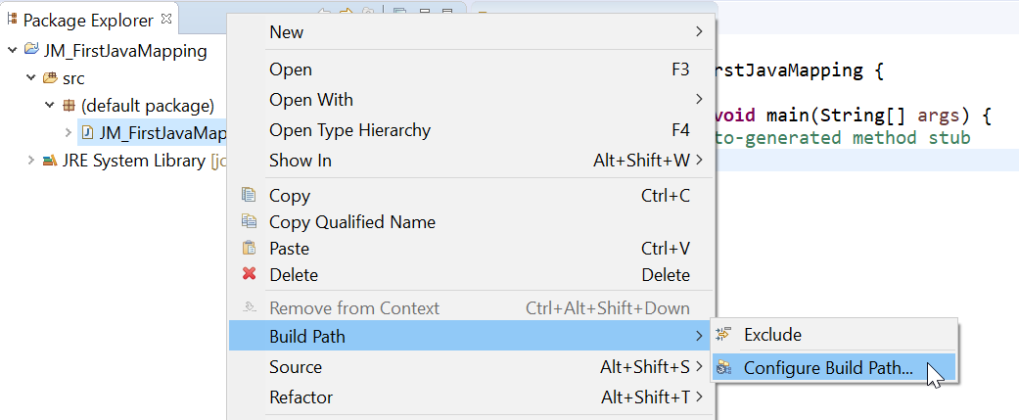
Eliminate the follow lines included the past post.
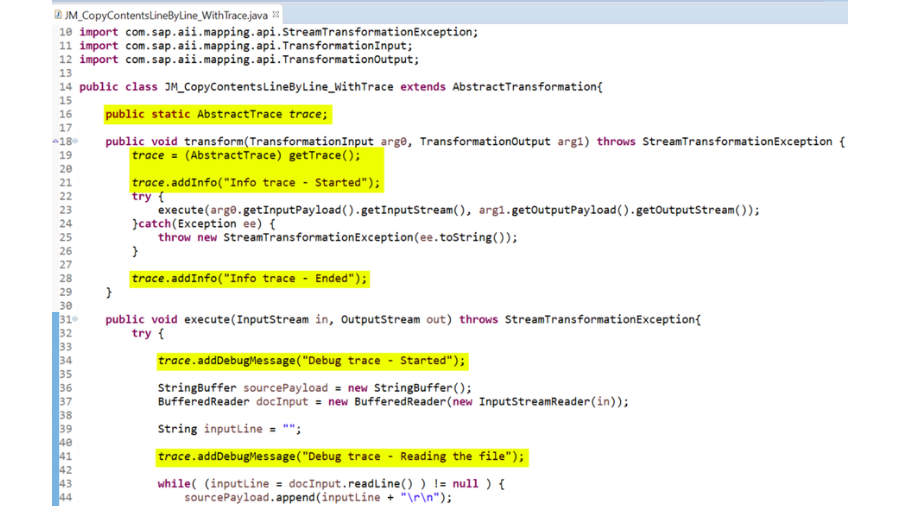
First thing we need to do is, we need to get the occasion of the powerful setup. Thus, for that we will characterize a variable of dynamic setup to hold the example of the dynamic config. Then, we will characterize a string variable to hold our filename. And afterward we will get the unique arrangement. Dynamic arrangement can be removed from TransformationInput.
public DynamicConfiguration DynConfig;Under transform method:
String Filename = "";

DynConfig = arg0.getDynamicConfiguration();
This will get you the occurrence of the powerful arrangement, then we go inside the unique setup and check in the event that its accessible or not. Before that, we will have a check regardless of whether the powerful setup example is there.
if(DynConfig != null) {
throw new StreamTransformationException("Unable to find dynamic configuration");
}
So far:
public DynamicConfiguration DynConfig;

public void transform(TransformationInput arg0, TransformationOutput arg1) throws StreamTransformationException {

	String Filename = "";

	DynConfig = arg0.getDynamicConfiguration();

	trace = (AbstractTrace) getTrace();

	if(DynConfig == null) {
          throw new StreamTransformationException("Unable to find dynamic configuration");
	}

	try {
          execute(arg0.getInputPayload().getInputStream(), arg1.getOutputPayload().getOutputStream());
	}
        catch(Exception ee) {
	  throw new StreamTransformationException(ee.toString());
	}
}
Besides, we will make a key. A key is fundamentally a namespace and the name of the key of the unique design. So we characterize a key of dynamic design and that is essentially the namespace and the name of the unique setup.
DynamicConfigurationKey key = DynamicConfigurationKey.create("http://sap.com/xi/XI/System/File", Filename);So now we write the code to extract the data. We will add it inside try catch block.
try {
  Filename = DynConfig.get(key);
}catch(Exception ee) {
  throw new StreamTransformationException("Unable to Read the Dynamic Configuration for File Parameter");
}
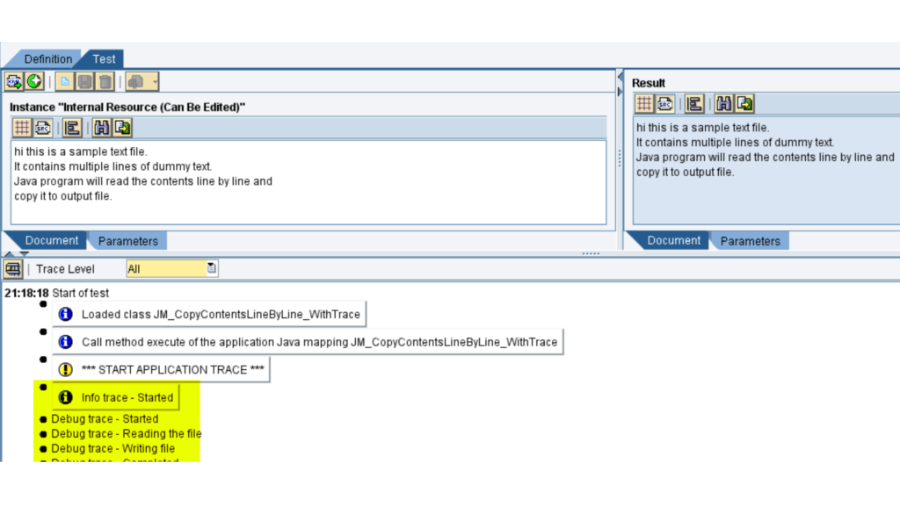
We will have an IF ELSE proclamation to check assuming filename has some worth in it, which will be added through Unique Arrangement. To do as such, we will add data follow like underneath:
if(Filename != null && !Filename.equals("")) {
	trace.addInfo("Filename found from Dynamic Configuration: " + Filename);
}else {
	trace.addInfo("Filename not found in Dynamic Configuration");
}
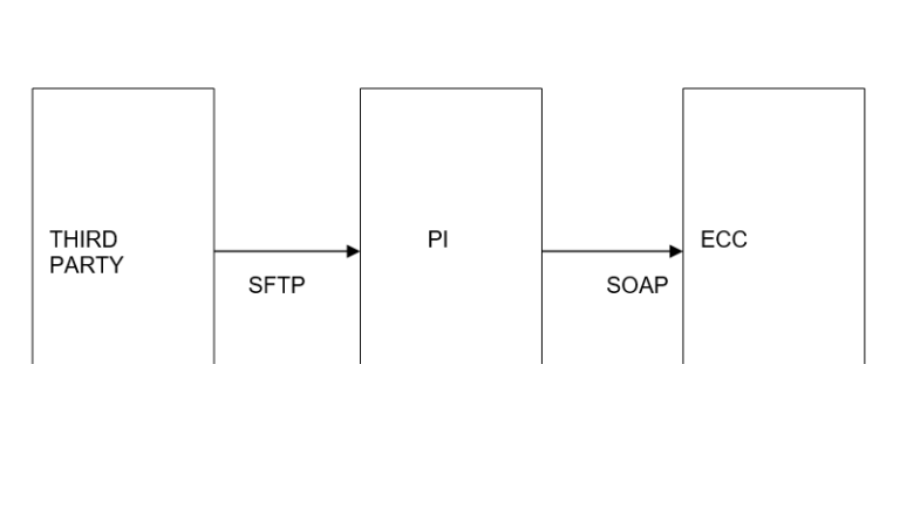
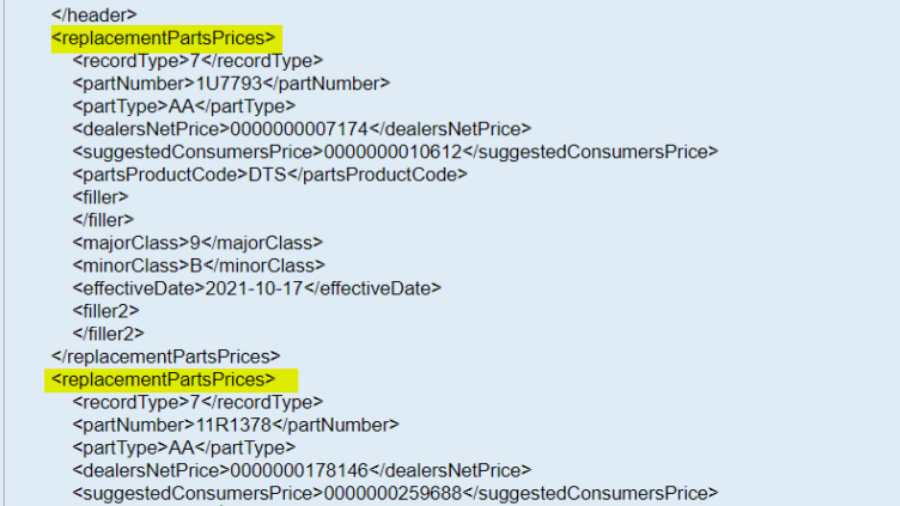
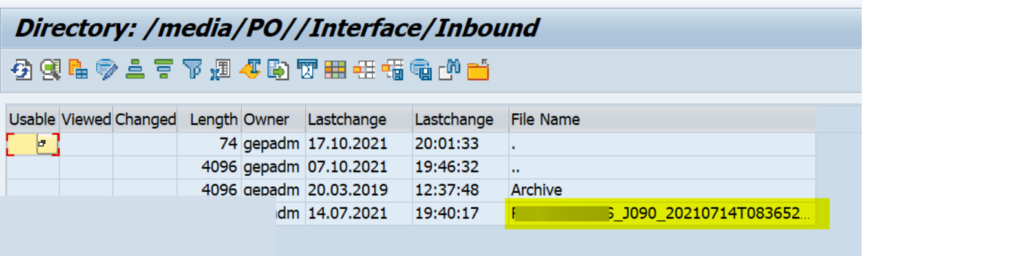
You may be pondering, what will be the information put away in Filename. Since the key has the namespace of http://sap.com/xi/XI/Framework/Record, the filename of the document put in SFTP/FTP area will be removed and put away in Filename variable.
GitHub Repo:
3. JAVA PROGRAM – 2 – How to write Parameterized Java Mapping:
Compose a Java Program to peruse the boundaries planned in ESB. For that we want to know how to peruse the boundaries that you characterize in the Activity planning which we will find in last part. In the first place, we will see the java program.
In this Java Program we won’t run the program in XI framework, subsequently we are eliminating the execute technique totally and furthermore principal strategy since we won’t run the Java program locally in the NWDS programming.
In this way, we will compose all our code inside Change technique.
First thing we need to do is perused the boundaries: PARAM1, PARAM2, PARAM3. This is similar name we need to characterize in Activity Planning. While executing in activity planning, we will populate values through restricting.
We will compose all inside the attempt block.
try {
  String Parameter1 = arg0.getInputParameters().getString("PARAM1");
  String Parameter2 = arg0.getInputParameters().getString("PARAM2");
  String Parameter3 = arg0.getInputParameters().getString("PARAM3");
}
Now we need to write the parameters in output. First we need to get the output string.
OutputStream out = (OutputStream) arg1.getOutputPayload().getOutputStream();Now write the parameter values to output screen.
out.write(("PARAM1 = " + Parameter1 + "\r\n").getBytes());
out.write(("PARAM2 = " + Parameter2 + "\r\n").getBytes());
out.write(("PARAM3 = " + Parameter3 + "\r\n").getBytes());
That is all there is to it. Simple one.
Presently we will investigate the design to be finished in ESB.
Complete source code:
public void transform(TransformationInput arg0, TransformationOutput arg1) throws StreamTransformationException {

	try {
	  String Parameter1 = arg0.getInputParameters().getString("PARAM1");
	  String Parameter2 = arg0.getInputParameters().getString("PARAM2");
	  String Parameter3 = arg0.getInputParameters().getString("PARAM3");

	  OutputStream out = (OutputStream) arg1.getOutputPayload().getOutputStream();

	  out.write(("PARAM1 = " + Parameter1 + "\r\n").getBytes());
	  out.write(("PARAM2 = " + Parameter2 + "\r\n").getBytes());
	  out.write(("PARAM3 = " + Parameter3 + "\r\n").getBytes());

	  out.flush();
	}

	catch(Exception ee) {
	  throw new StreamTransformationException("Error while reading the parameterized mapping".concat(ee.getMessage()));
	}

}
Github repo:
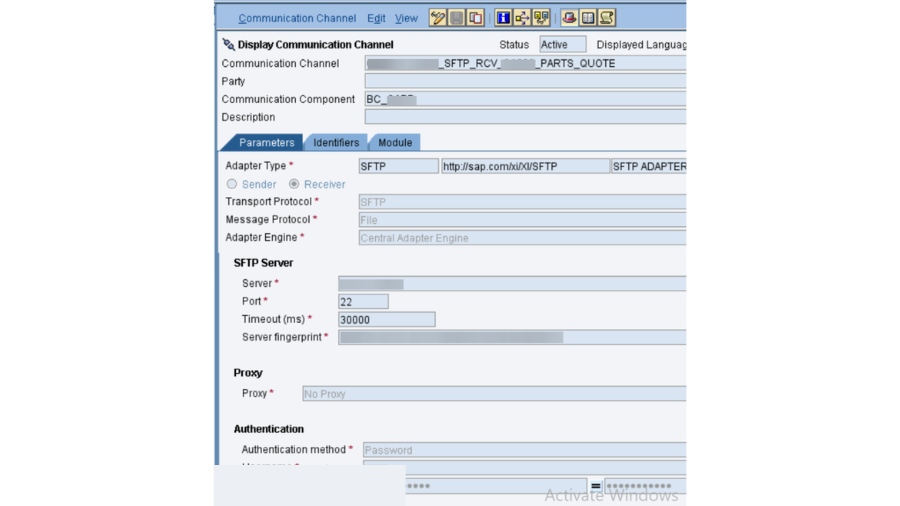
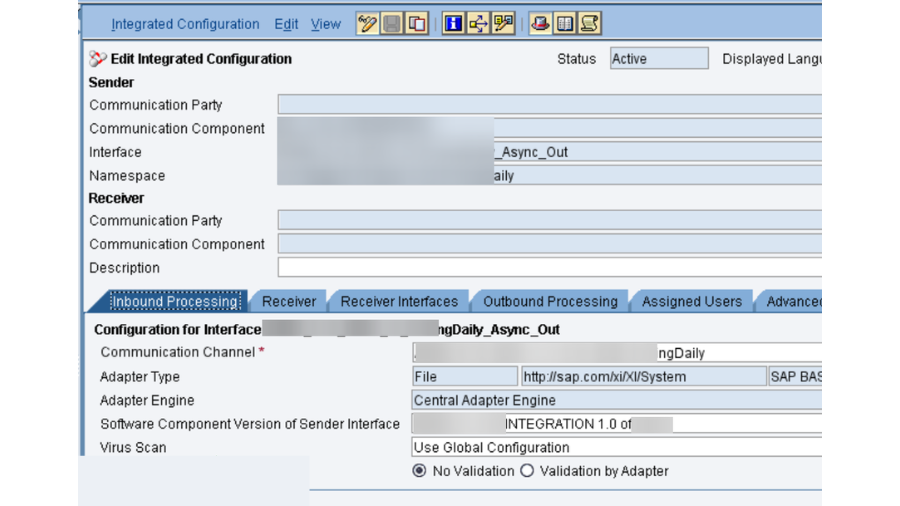
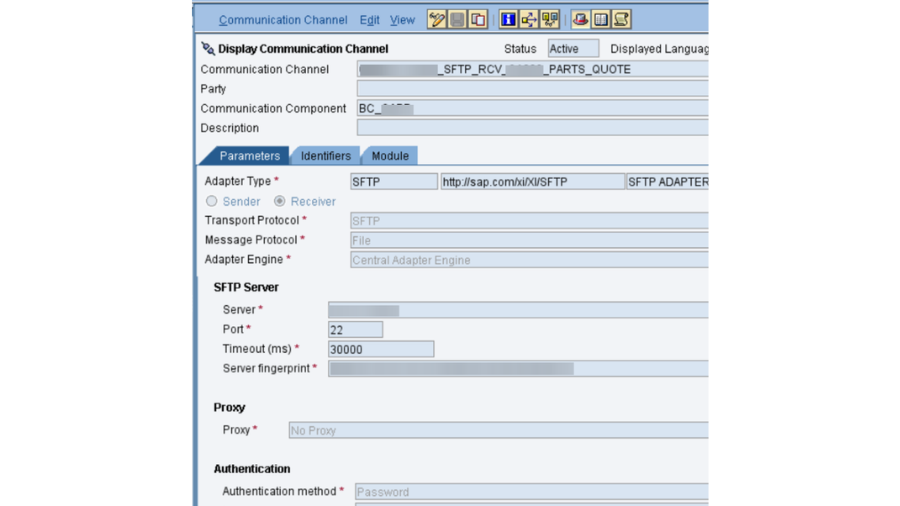
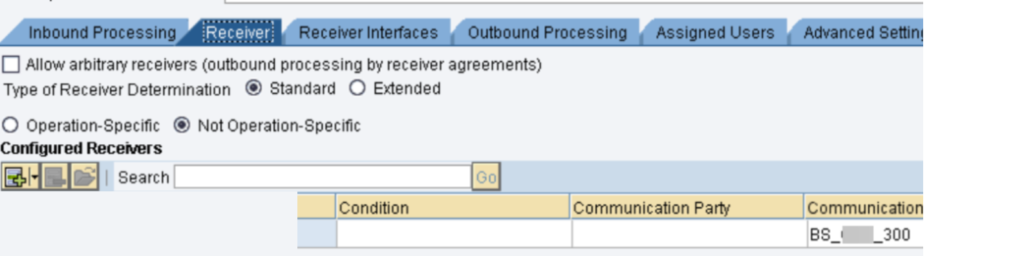
ESB Configuration:
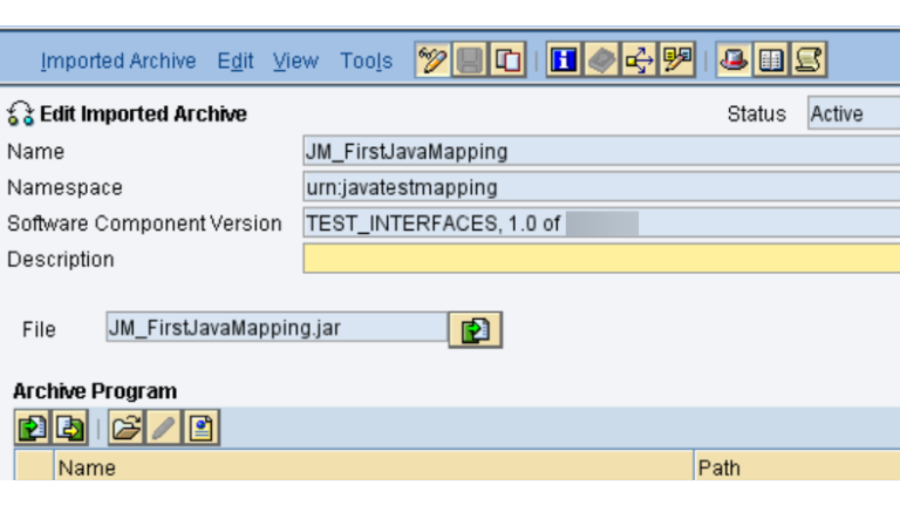
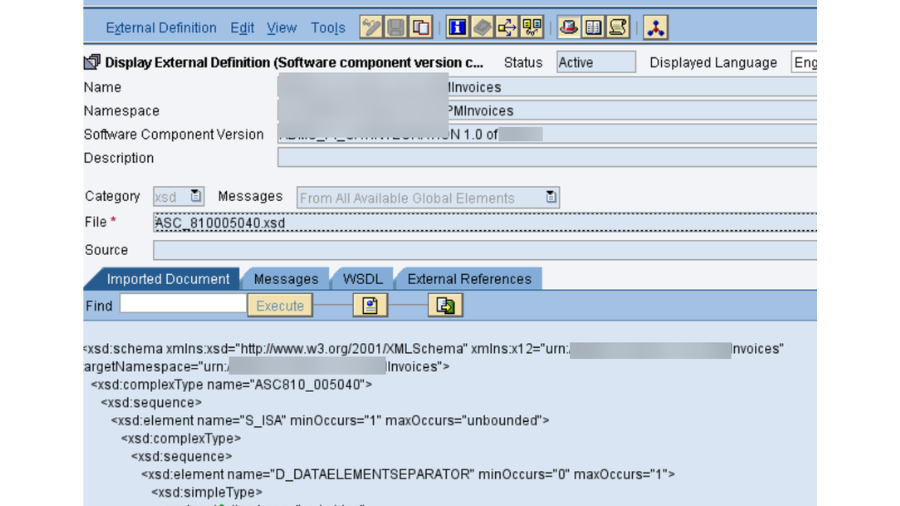
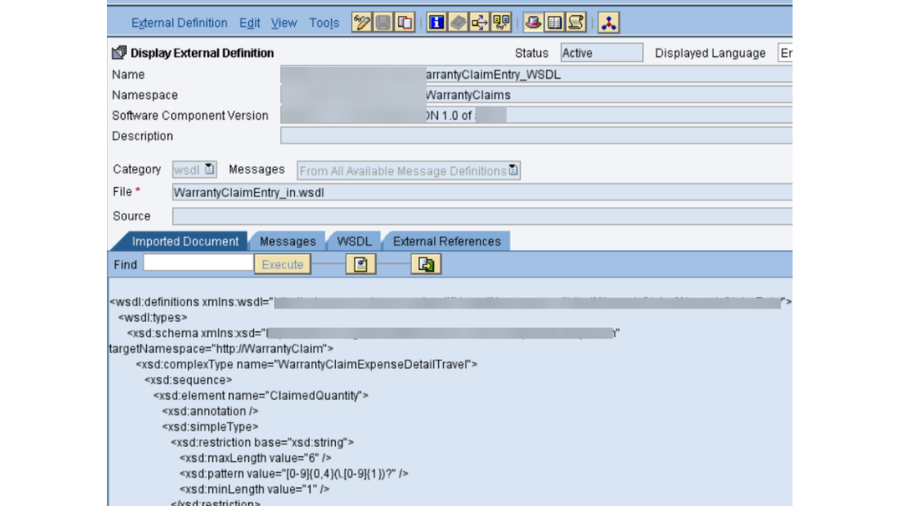
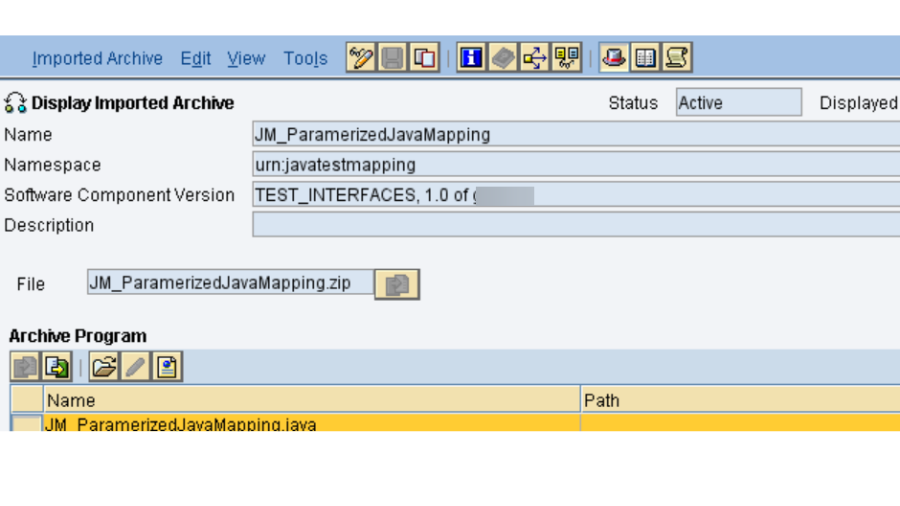
Make the Container document and import it in IMPORTED Files.
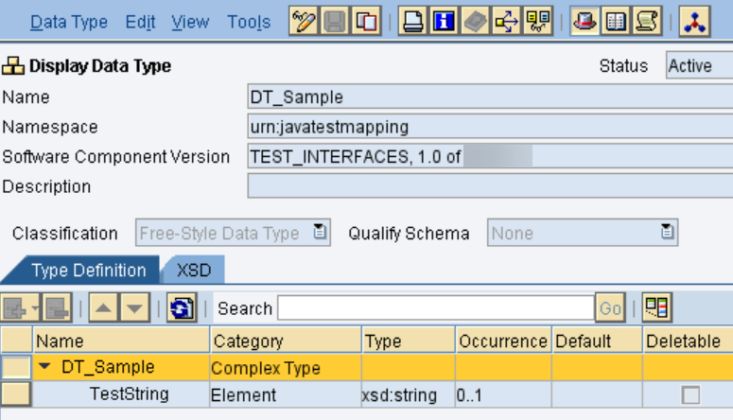
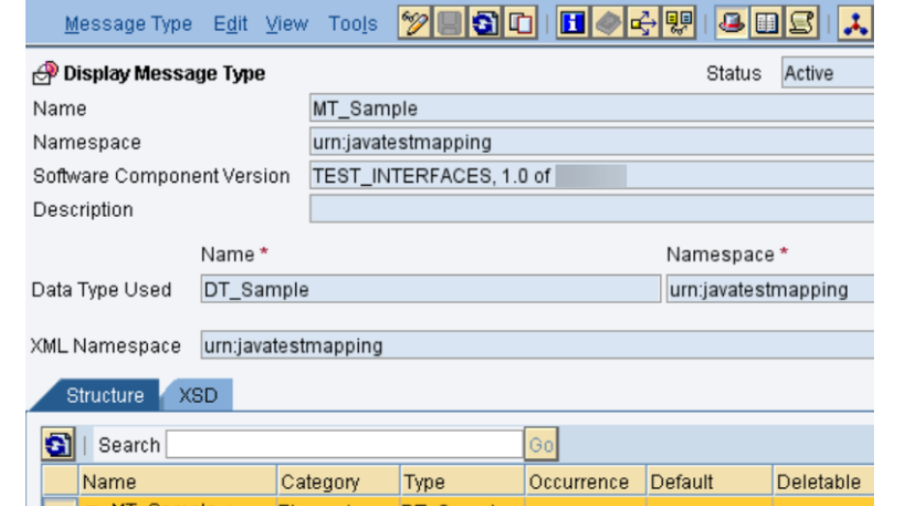
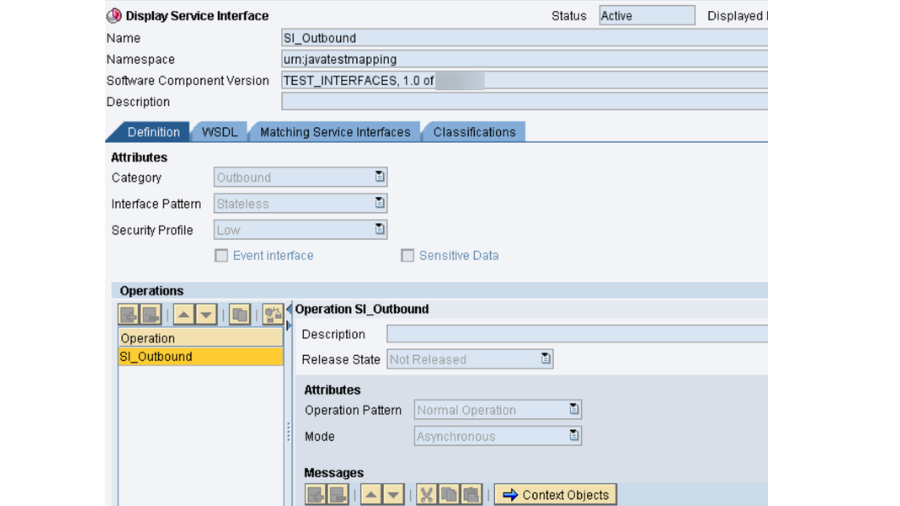
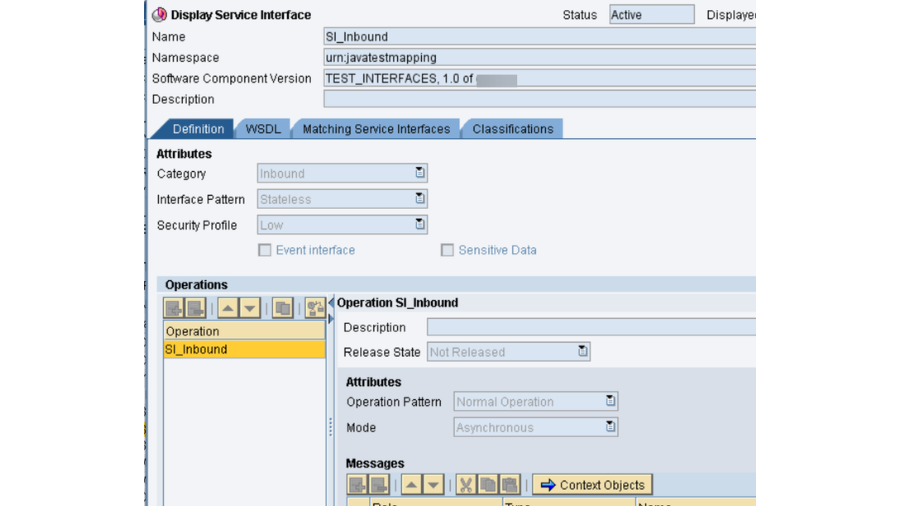
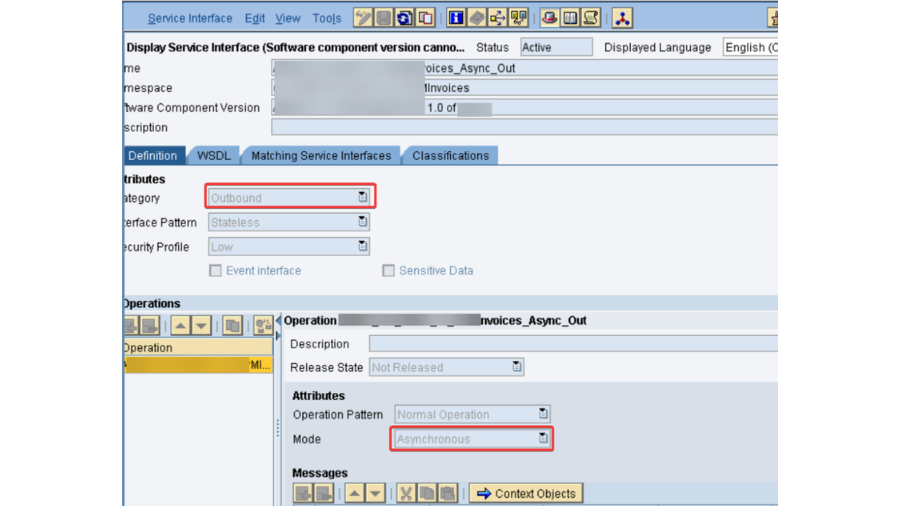
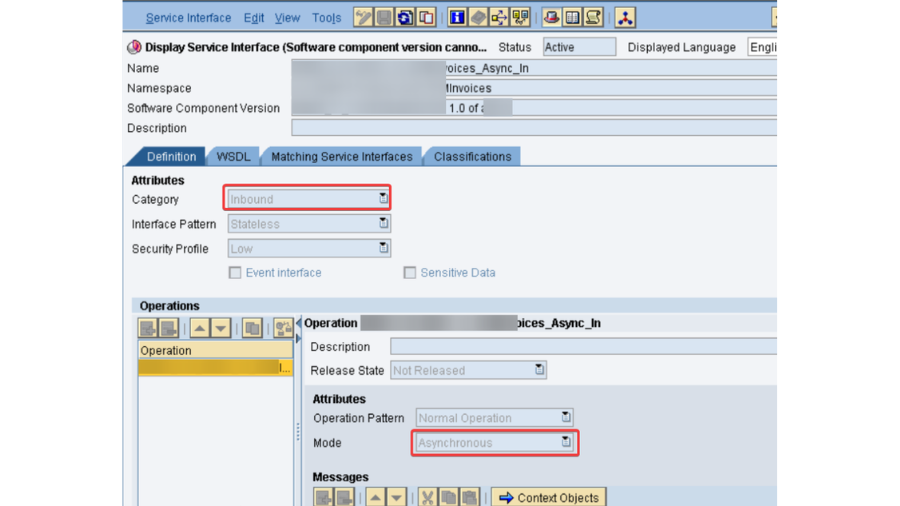
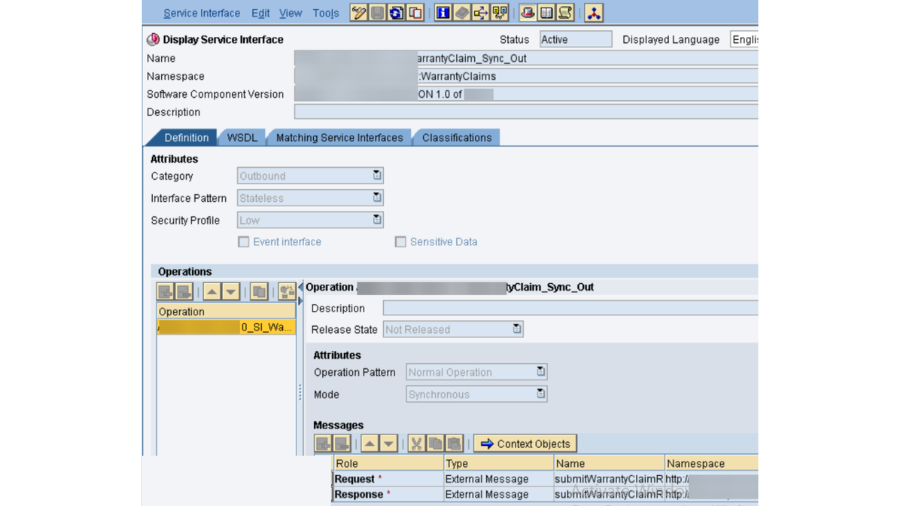
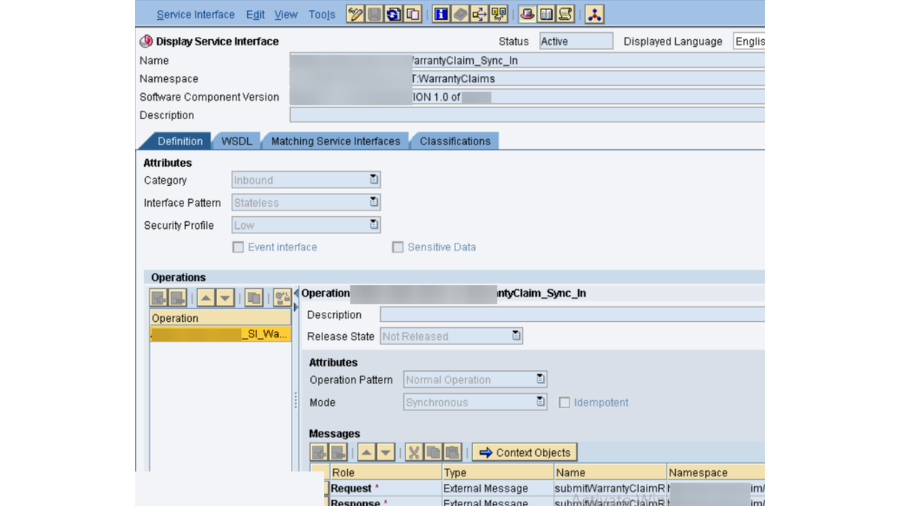
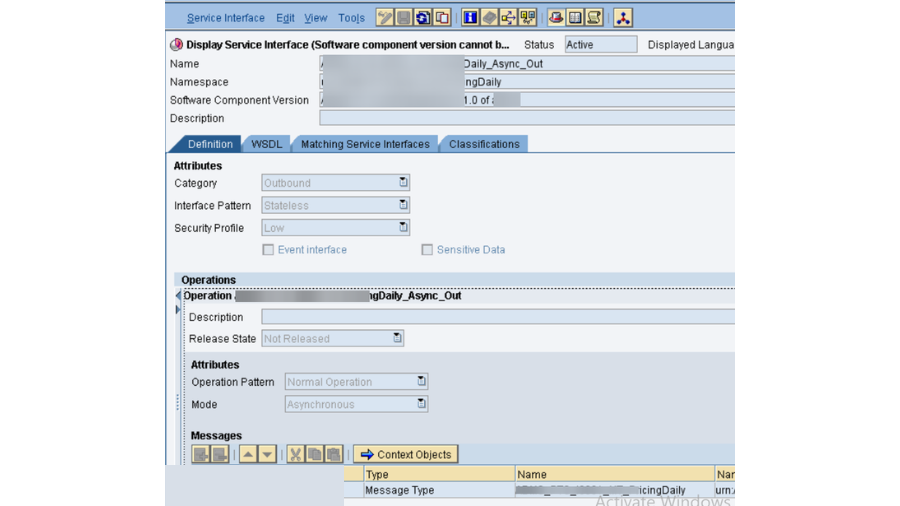
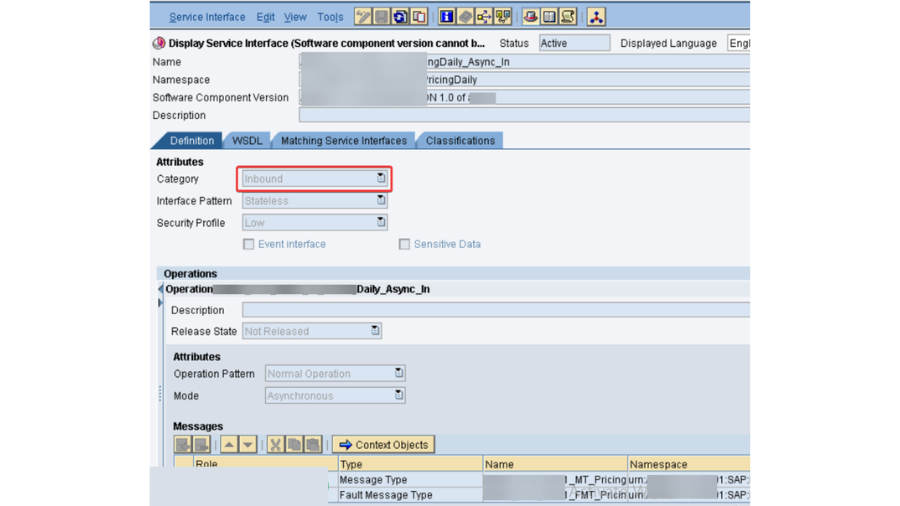
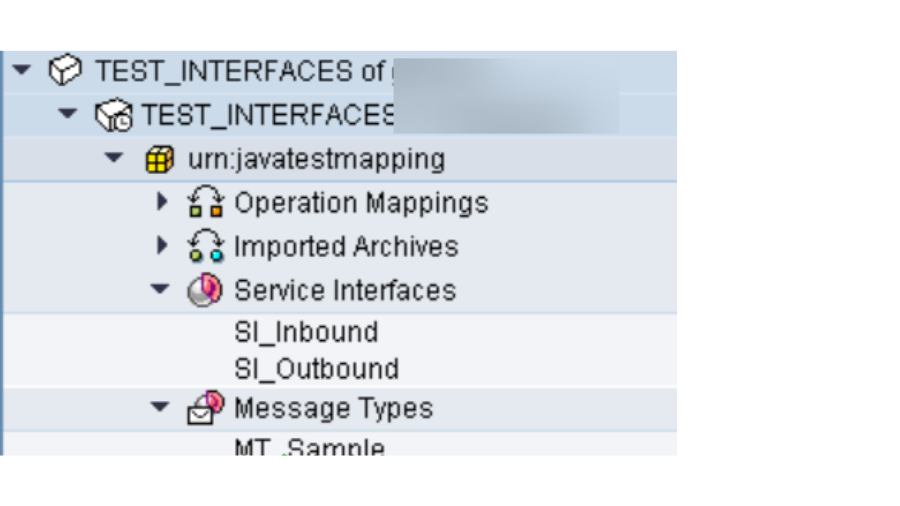
Make some example Information type and Message type in ESR and import the message types to OUTBOUND and INBOUND assistance interfaces.
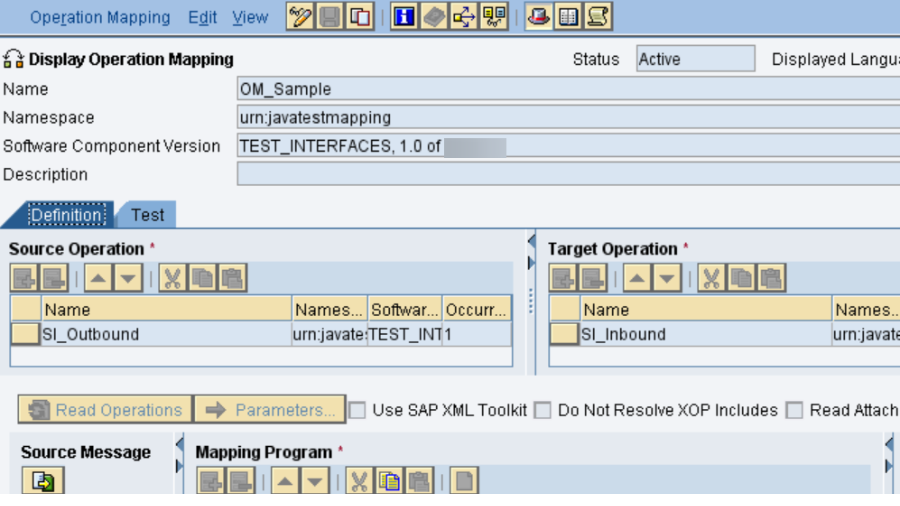
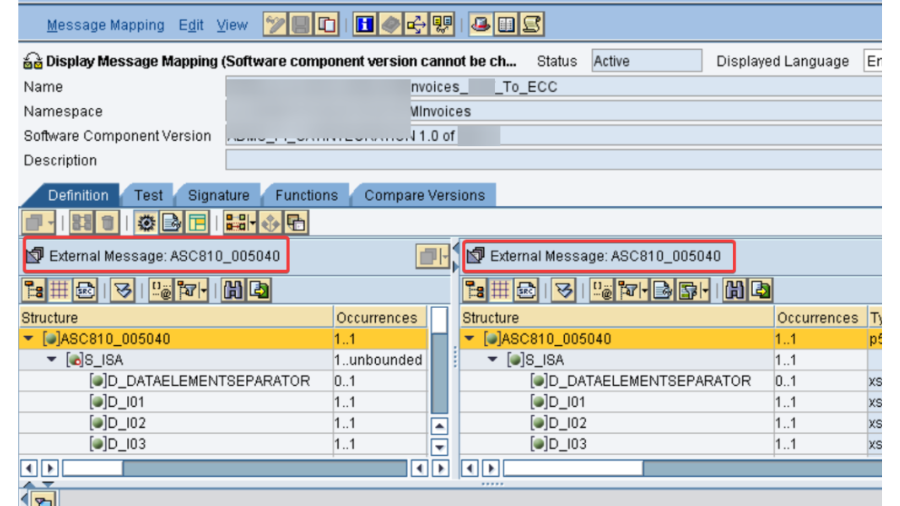
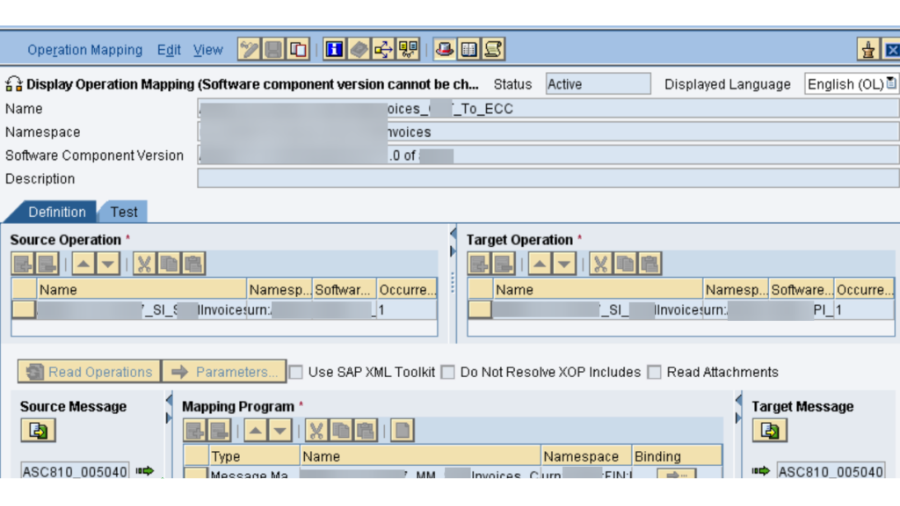
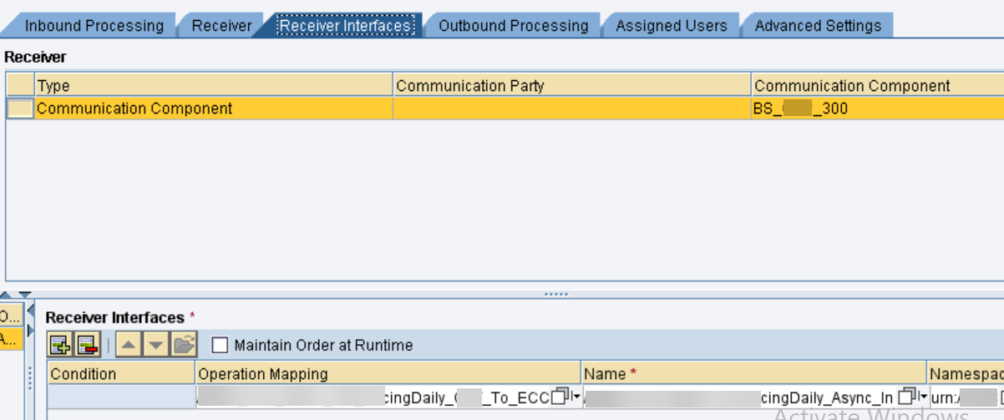
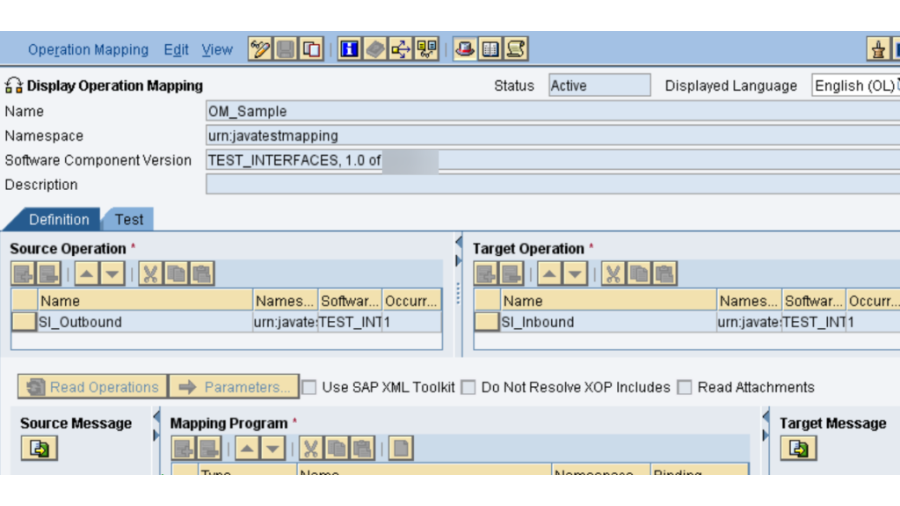
Make Activity Planning and import the outbound help interface as SOURCE MESSAGE and inbound help interface as TARGET MESSAGE.
IMPORTED ARCHIVE:
Structure:
Import the Java Planning into activity planning.
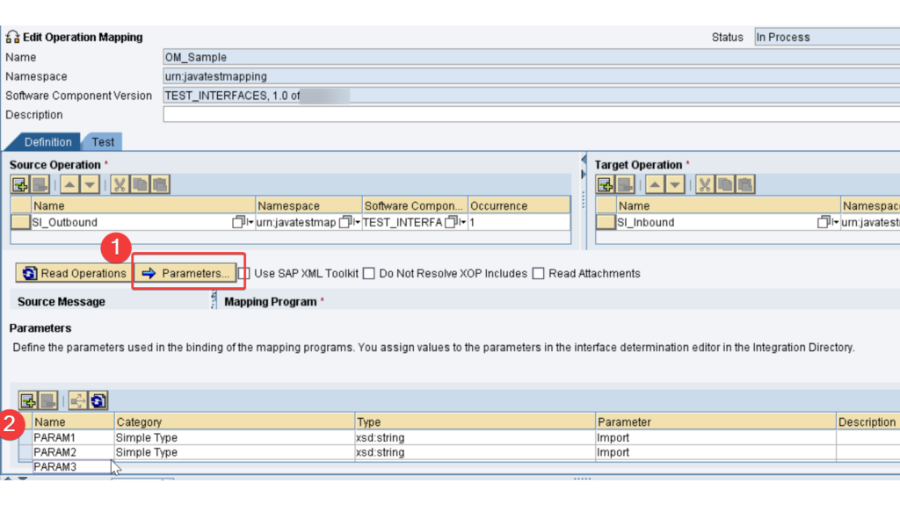
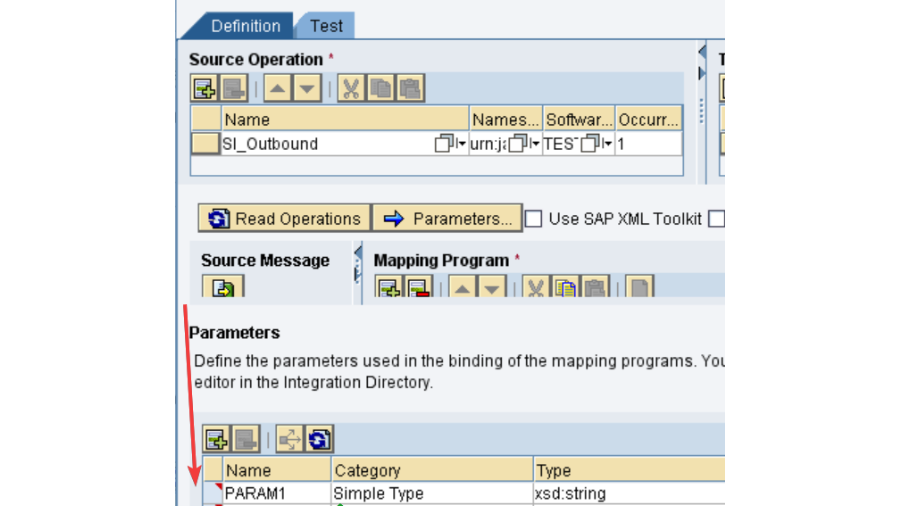
Presently it is the right time to characterize the boundaries.
Click on the Boundaries button which will spring up the boundaries area, where we really want to characterize those 3 boundaries as displayed underneath:
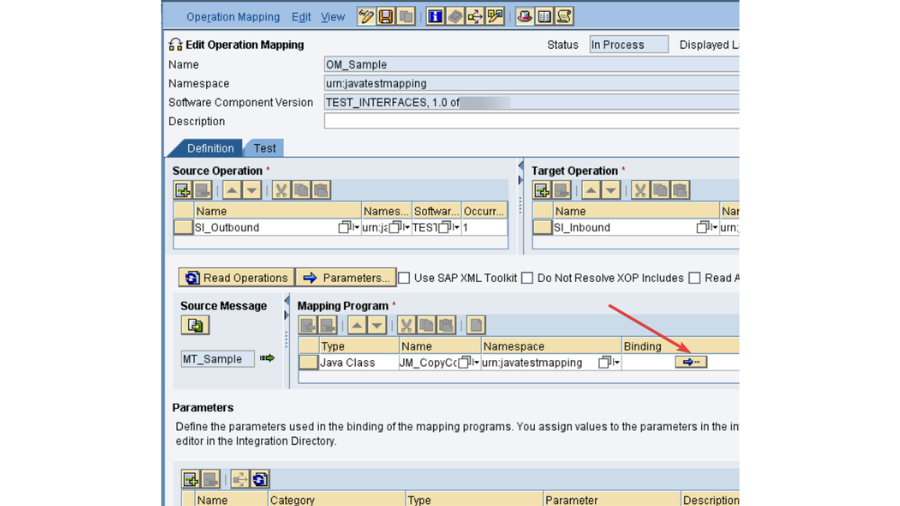
Once characterized, click on the BINDING button.
Map every one of the three boundaries to the PARAMETER NAME.
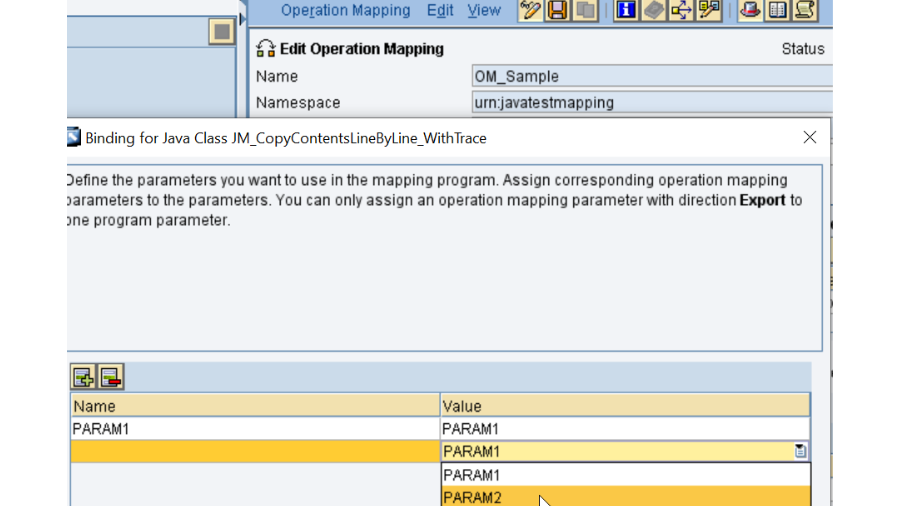
On fruitful restricting, you will see the red shaded mark in the boundaries area which implies that the limiting is effective.
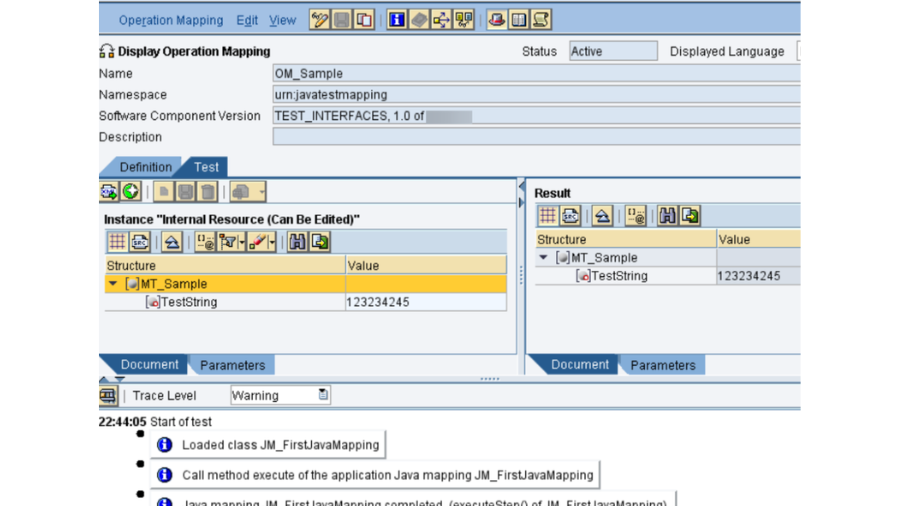
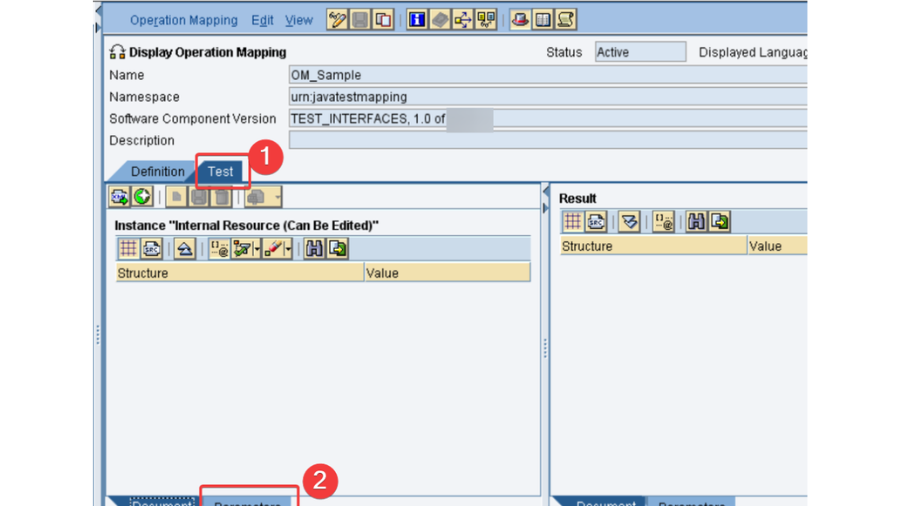
When done save and actuate the Activity Planning. After that explore to the TEST tab to see the IMPORT Boundaries appearing.
Go to boundaries tab.
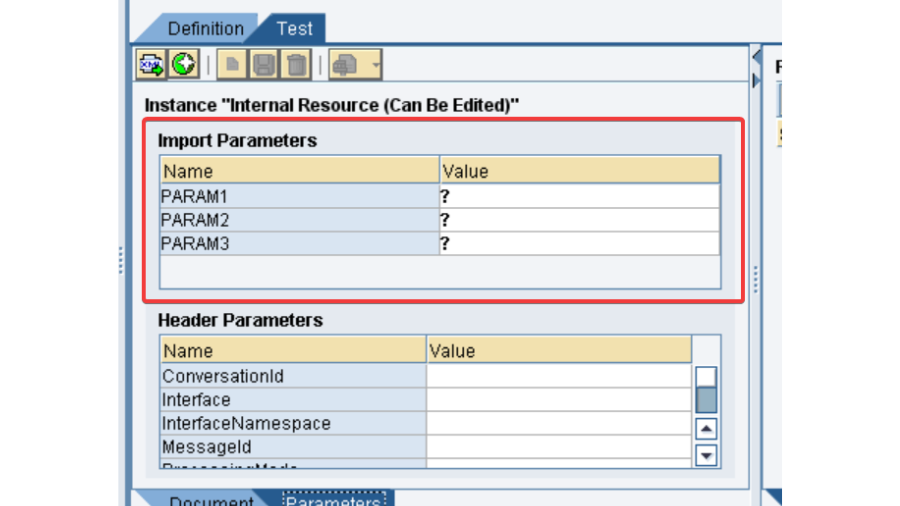
Enter the boundary worth and tap on Change to see the result.
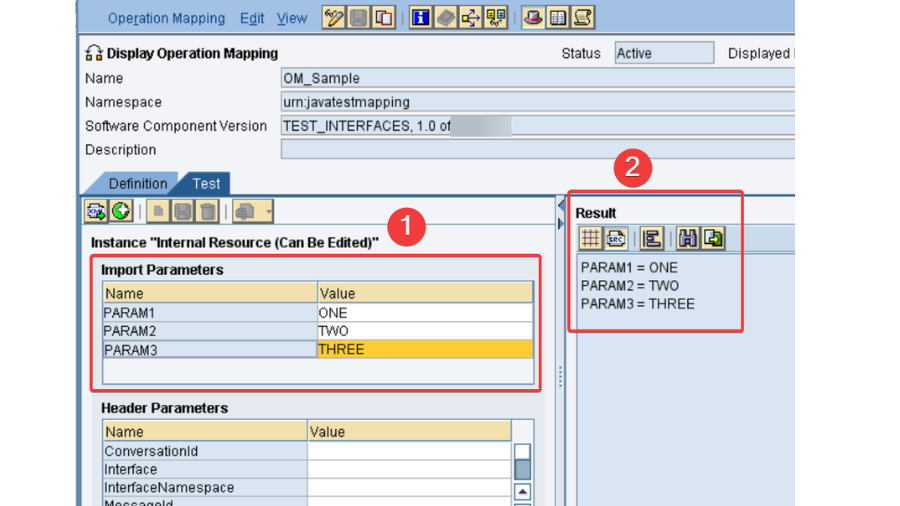
This is how the defined Java mapping works. I hope you enjoyed this introduction to Java mapping with examples in SAP PO. If you have any doubts, questions, or suggestions, please feel free to leave your comments below.
YOU MAY BE INTERESTED IN
Just 3 Changes to Improve the SAP ABAP Performance by 95 Percent
OData in SAP ABAP: Streamlining Data Exchange and Integration